한글지원 레인미터 설치형 스킨 옴니모 5.0 입니다.
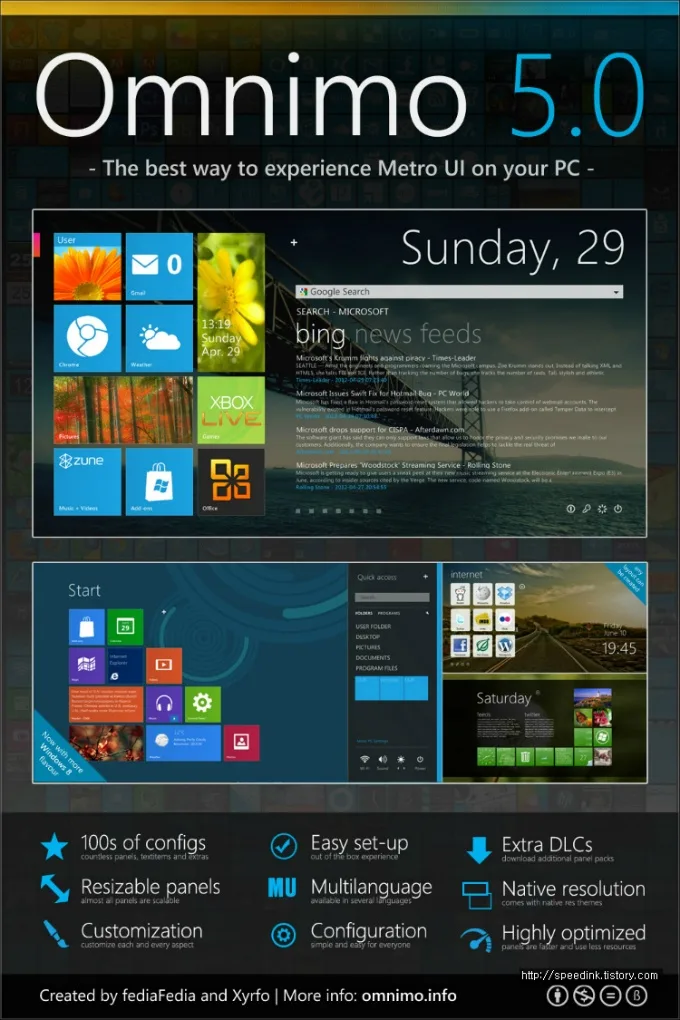
관련 사이트 : https://omnimo.info/
설치 과정입니다
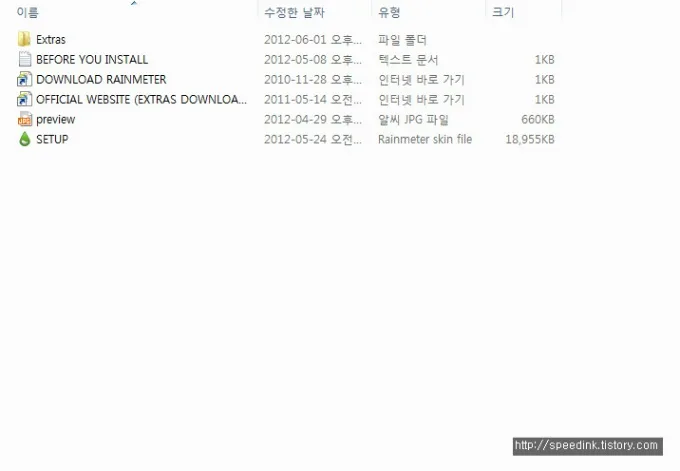
압축을 푸린후 SETUP를 실행합니다.Extras 폴더 안에 바탕화면이 있습니다.
Install~!
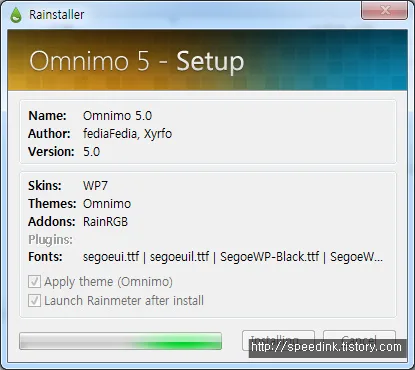
설치중입니다. 실행중이던 스킨은 모두 닫히고 백업폴더에 저장 됩니다.
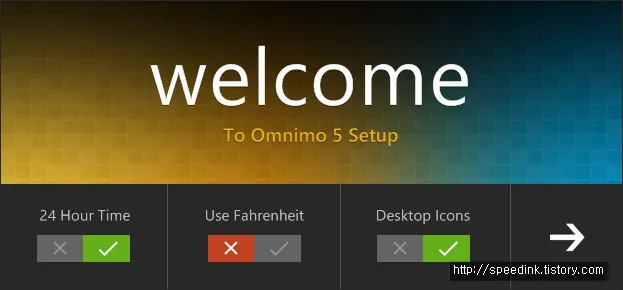
시간을 24시로 표시건지, 온도를 화씨로 표현할건지, 바탕화면 아이콘 표시 여부를 정해주고 화살표를 누름니다.
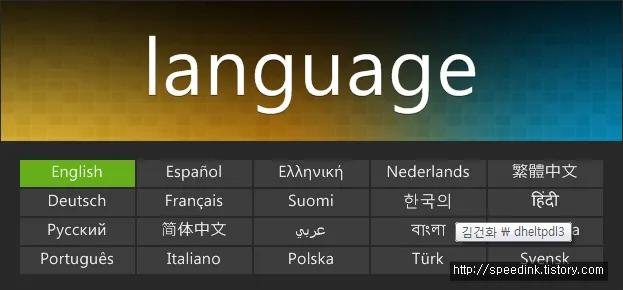
언어선택화면입니다…
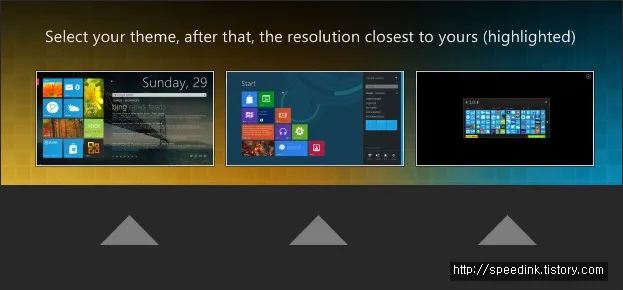
기본 테마를 고릅니다
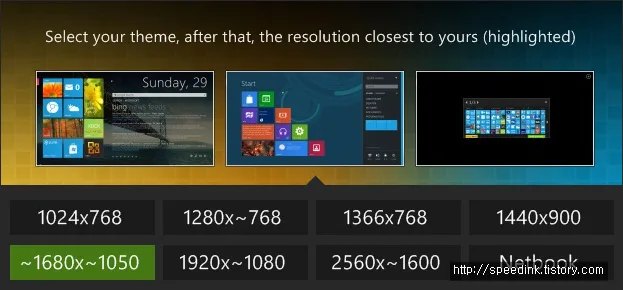
해상도 설정화면입니다. 자신의 해상도에 강조가 되어있네요.
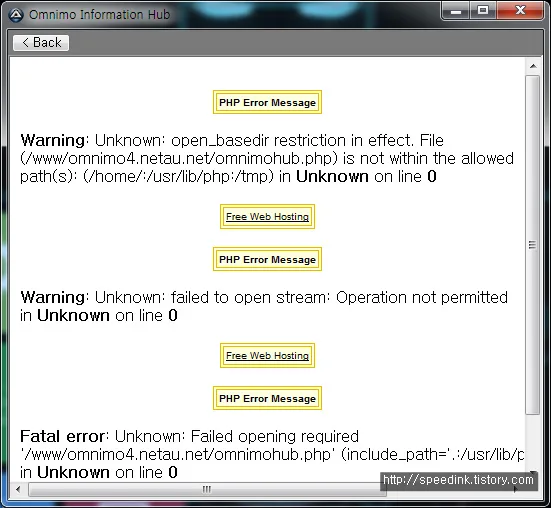
요런창이 뜨는데 닫아주시면 완료 됩니다
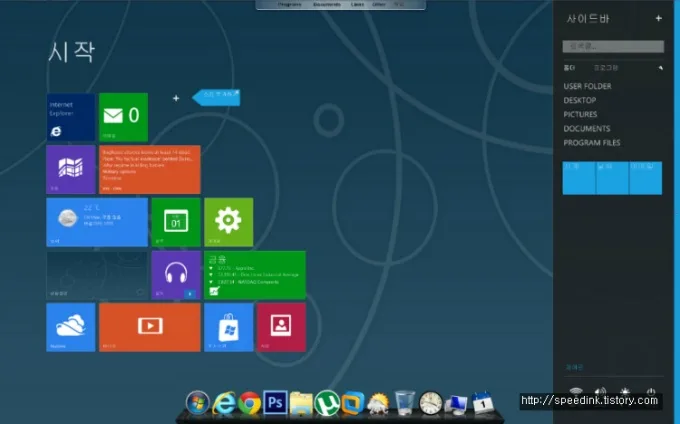

으응??
처음 설치하면 날씨 지역이 덴마크!!
레인미터 날씨 적용 방법입니다.
패치가 있었나 보네 날씨 적용이 쉬워 졌습니다.

오른쪽에 스패너를클릭합니다
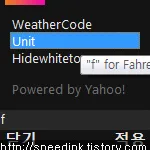
Unit를 C로 변경합니다.
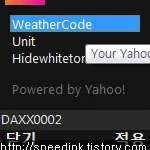
자신의 지역코드를 입력합니다
날씨 지역코드 찾기
http://www.edg3.co.uk/snippets/weather-location-codes/south-korea/
검색창에 영어로 지역명을 입력하시면 됩니다.
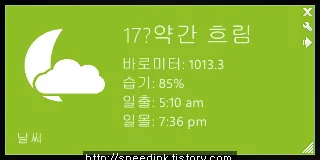


아직까지 먼가…한국어랑은 잘 않 맞는듯하네요..
날씨수정 이전글
날씨 아이콘을 우클릭하여 스킨편집을 엽니다.
편집기에서 [MeasureWeatherRSS] 문구를 찾습니다.
Measure=Plugin
Plugin=PluginsWebParser.dll
UpdateRate=30
Url=http://weather.yahooapis.com/forecastrss?p=#WEATHERCODE#&u=#UNIT#
RegExp=(?siU)<link.*>(.*)</link>.*citY=”(.*)”.*chill=”(.*)”.*direction=”(.*)”.*speed=”(.*)”.*humiditY=”(.*)”.*visibilitY=”(.*)”.*pressure=”(.*)”.*sunrise=”(.*)”.*sunset=”(.*)”.*<image>.*<url>(.*)</url>.*<title>.*:.*m .*(.*)</title>.*lat>(.*)<.*long>(.*)<.*yweather:condition.*Text=”(.*)”.*code=”(.*)”.*temp=”(.*)”.*yweather:forecast.*daY=”(.*)”.*higH=”(.*)”.*code=”(.*)”.*yweather:forecast.*daY=”(.*)”.*higH=”(.*)”.*code=”(.*)”.*
StringIndex=1
FinishAction=!Execute [!Update “#CURRENTCONFIG#”][!UpdateMeasure MeasureWeatherIcon “#CURRENTCONFIG#”][!UpdateMeasure MeasureWeatherIconMod “#CURRENTCONFIG#”][!UpdateMeter Icon “#CURRENTCONFIG#”][!UpdateMeter Icon2 “#CURRENTCONFIG#”][!Redraw]
수정전
[MeasureWeatherRSS]
Measure=Plugin
Plugin=PluginsWebParser.dll
UpdateRate=30
Url=http://weather.yahooapis.com/forecastrss?p=KSXX0005&u=c
RegExp=(?siU)<link.*>(.*)</link>.*citY=”(.*)”.*chill=”(.*)”.*direction=”(.*)”.*speed=”(.*)”.*humiditY=”(.*)”.*visibilitY=”(.*)”.*pressure=”(.*)”.*sunrise=”(.*)”.*sunset=”(.*)”.*<image>.*<url>(.*)</url>.*<title>.*:.*m .*(.*)</title>.*lat>(.*)<.*long>(.*)<.*yweather:condition.*Text=”(.*)”.*code=”(.*)”.*temp=”(.*)”.*yweather:forecast.*daY=”(.*)”.*higH=”(.*)”.*code=”(.*)”.*yweather:forecast.*daY=”(.*)”.*higH=”(.*)”.*code=”(.*)”.*
StringIndex=1
FinishAction=!Execute [!Update “#CURRENTCONFIG#”][!UpdateMeasure MeasureWeatherIcon “#CURRENTCONFIG#”][!UpdateMeasure MeasureWeatherIconMod “#CURRENTCONFIG#”][!UpdateMeter Icon “#CURRENTCONFIG#”][!UpdateMeter Icon2 “#CURRENTCONFIG#”][!Redraw]
수정후
KSXX0005는 지역코드고 C는 섭씨입니다
아래쪽으로 내려가 [Temp] 문구를 찾습니다.
[Temp]
MeasureName=MeasureWeatherTemp
MeterStyle=Style
Meter=String
StringAlign=LEFT
X=(#Height#/5*4)
Y=(#Height#/7.5)
FontColor=#textcolor2#
FontSize=(#Height#/9)
Text=%1?unit#
StringCase=upper
Hidden=0
W=(#Height#*1.2)
H=(#Height#/5)
ClipString=1
수정전
[Temp]
MeasureName=MeasureWeatherTemp
MeterStyle=Style
Meter=String
StringAlign=LEFT
X=(#Height#/5*4)
Y=(#Height#/7.5)
FontColor=#textcolor2#
FontSize=(#Height#/9)
Text=%1 `c
StringCase=upper
Hidden=0
W=(#Height#*1.2)
H=(#Height#/5)
ClipString=1
수정후
Text=%1?unit# 문구를 Text=%1`c 로 변경해수셔야 온도 옆에 꽐라가 제대로 표현 됩니다

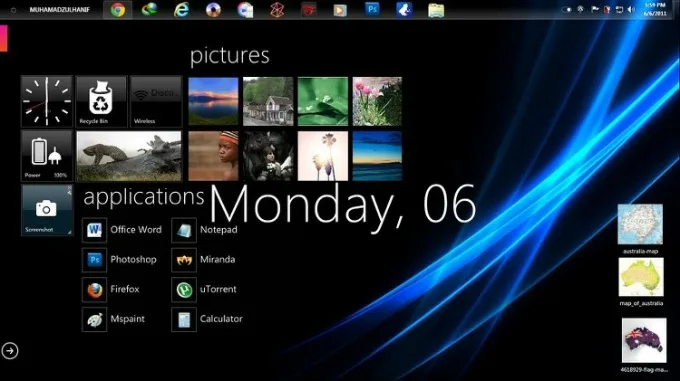
어느 해외 유저가 사용중이 omnimo 스킨
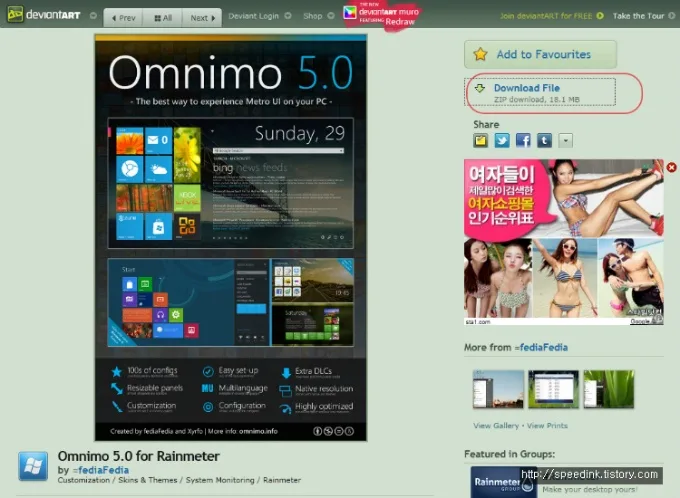
사이트로 가서 Download File 클릭하시면 자료를 다운 받을수있습니다..(큭 광고가…)
다운로드 : https://omnimo.info/